Shout out to all the romancers like me who love everything about Valentine’s Day! From heart shaped bacon to lipstick on the mirror... I have so much fun finding the cheesiest ways to remind those that I love, that I love them on Valentine’s Day!
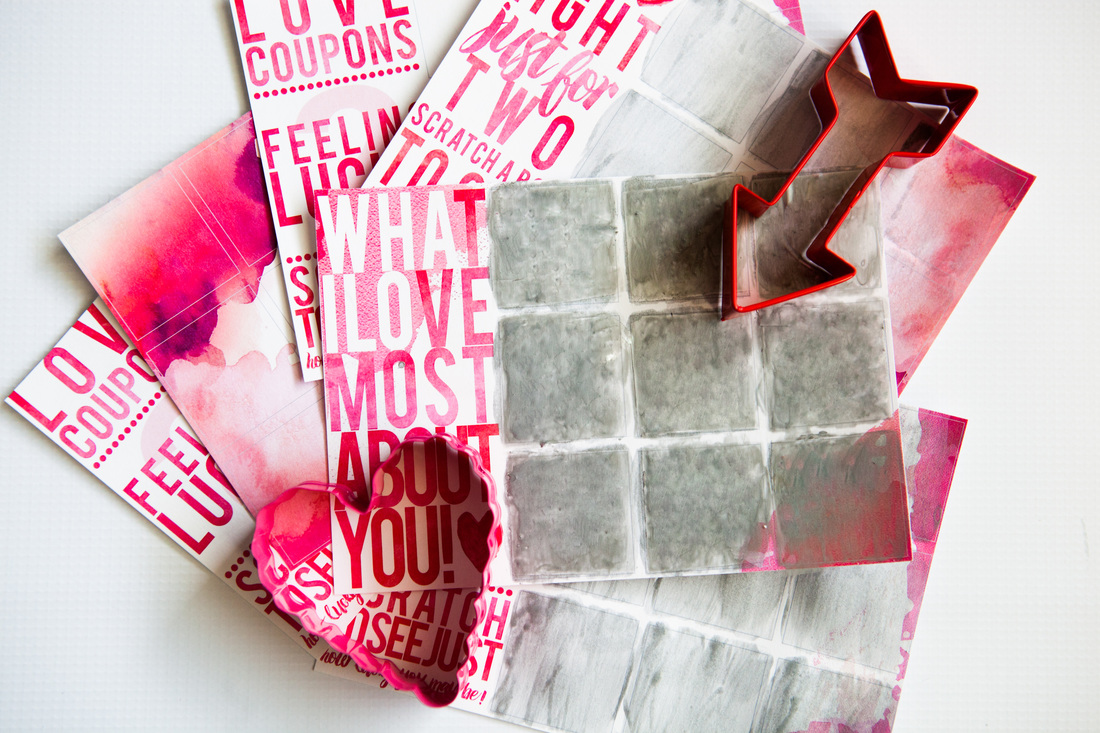
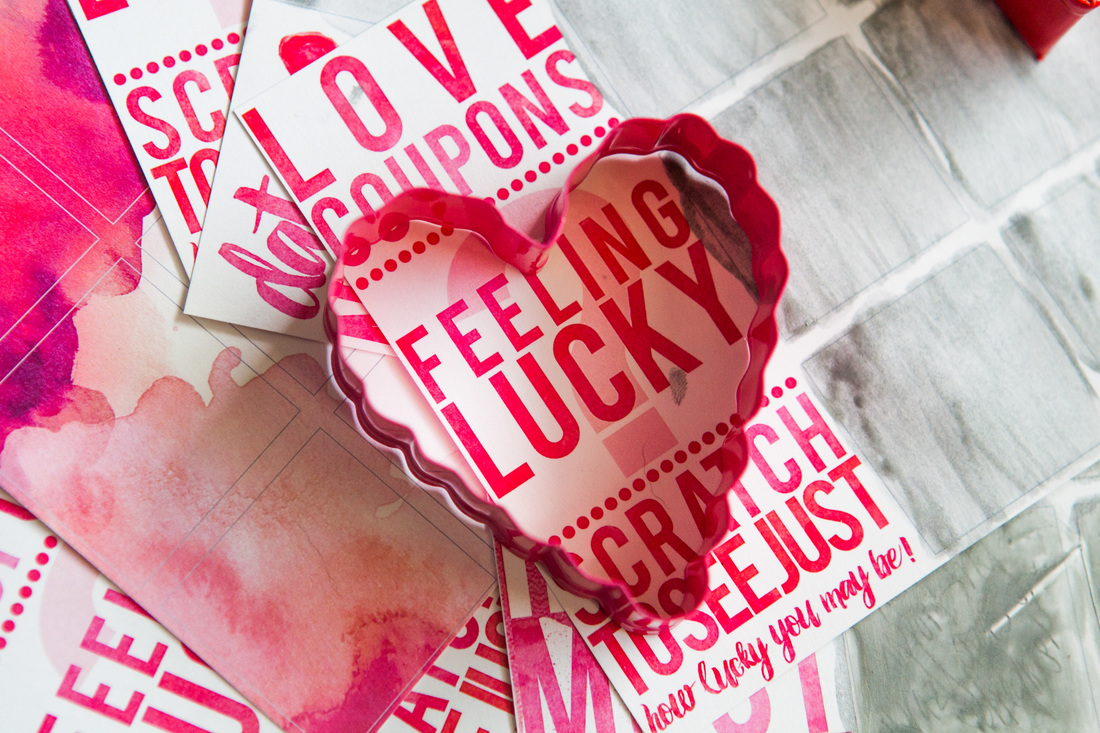
Today’s DIY tutorial (designs included) beats the typical drugstore card. Forget I mentioned cheesy earlier because these three card designs include lucky scratch tickets for date night ideas, love coupons, and reasons why I love you! Who wouldn’t love receiving one of these.... hello to an evening at the lake followed with a nice long back massage!
Today’s DIY tutorial (designs included) beats the typical drugstore card. Forget I mentioned cheesy earlier because these three card designs include lucky scratch tickets for date night ideas, love coupons, and reasons why I love you! Who wouldn’t love receiving one of these.... hello to an evening at the lake followed with a nice long back massage!
Let's get started!
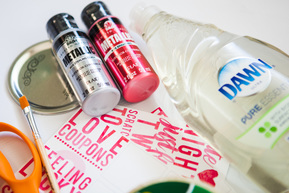
Materials needed:
Instructions:
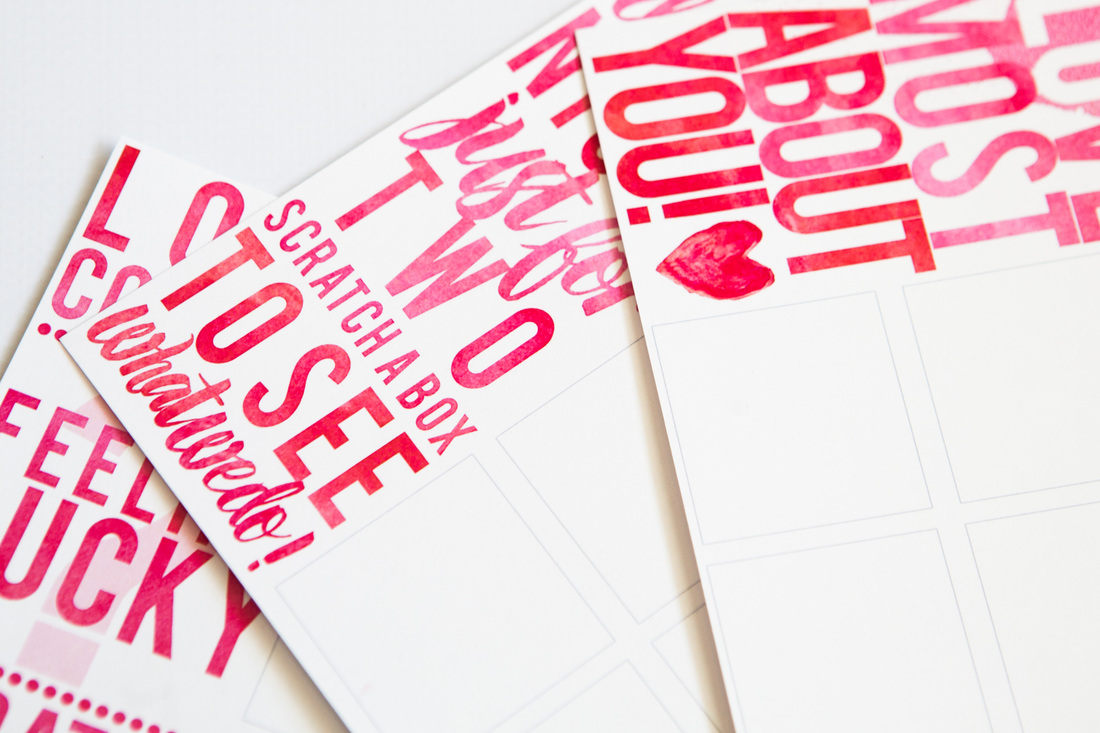
1. Download the below file that includes the three Valentine’s Day scratch cards. Print the design of your choice on card stock.
| valentine_printables.zip |
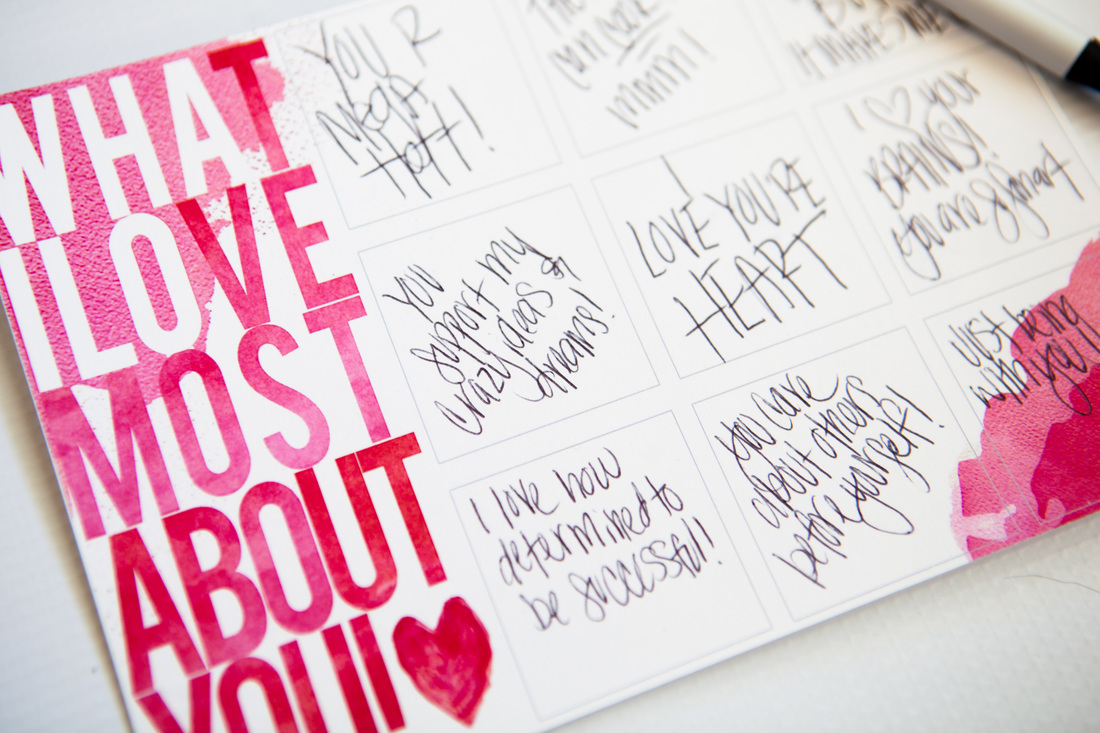
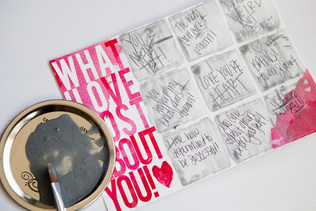
2. Pour your heart out into the boxes! For the purposes of this blog, I jotted down the typical reasons why someone may love someone. Put some thought into this when you are doing it!
(Tip: using a sharpie isn’t the best as it will show through on the back of the card. If you know how to use Photoshop, open the design in Photoshop, then add text over the squares. If you are not Photoshop savvy, no worries, a pen works just fine and in my opinion gives it more of that made with love look!)
(Tip: using a sharpie isn’t the best as it will show through on the back of the card. If you know how to use Photoshop, open the design in Photoshop, then add text over the squares. If you are not Photoshop savvy, no worries, a pen works just fine and in my opinion gives it more of that made with love look!)
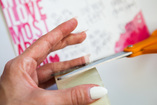
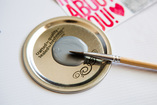
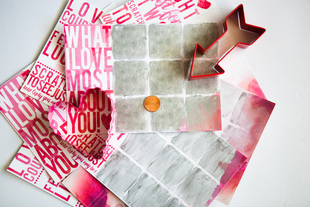
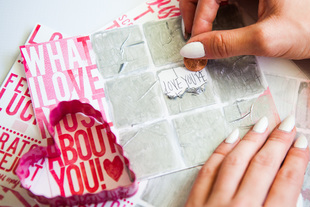
| 3. Once you have the boxes completed, cover each square using the clear packing tape. Do not let your OCD get the best of you by trying to cut the tape to fit each box exactly. It doesn’t have to be. Just make sure the faint outline is covered and not touching it’s neighboring box 4. Mix up your paint and soap. I do not have an exact measurement. I used the amount of paint shown above with 2-3 drops of soap. 5. Paint a thin and even coat onto the taped area. ONLY the taped area! 6. Allow to dry 7. Repeat the last two steps until you have 3 completely dried coats. |
8. Ta-Da! That's it! There you have your Valentine's Day Scratch Card!
8. Ta-Da! That's it! There you have your Valentine's Day Scratch Card!
We want to see your cards! Share a picture on Instagram and tag C+S (@champagneandshimmer) and Bold Arrow Design (@boldarrowdesign). We just may regram it!
Enjoy your Monday!
Jo
PS: If you think this post is just as awesome as we do, share it with your friends by clicking the Facebook and Twitter icons below!
Enjoy your Monday!
Jo
PS: If you think this post is just as awesome as we do, share it with your friends by clicking the Facebook and Twitter icons below!


 RSS Feed